My Offensive Security, OSWP Experience


Introduction
In January 2016, I signed up for the Offensive Security Wireless Attacks course & practical exam.Registering for this course requires "professional" email address, "No Free or ISP Email Addresses". Once I had provided my details, a number of emails were dispatched, many of these were flagged as Junk by O365, be aware, I retrieved these from the Junk folder. I paid the course fee and was promptly notified by email that my payments had been successful.The course material was made available for me to download about a week later, this arrived in the form of an email containing two links. The personalised course material is available to download for 72 hours only, after this the links will no longer be active.The course materials consist of:
- WiFu Exam Guide pdf, this contains the entire course training material including the practical labs.
- Training videos, a series of well presented training videos, these may be viewed as stand alone video files or via the web player interface, which I found to be a good way to view and interact with the video training material.
The training material is "personalised" i.e. all of the material comes watermarked with your Offensive Security ID, name and postal address.
The Course
I found the training material to be well presented, the theory at the beginning of the course guide is a little dry, in spite being aware of much of the content in this introduction, it was well worth going through.The reward, being the practical chapters where you get your teeth stuck into executing the wireless attacks.In order to take on the practical labs you will need the following:
- An instance of BackTrack or Kali Linux
- A wireless card capable of packet injection
- An Access Point
- A Victim device
Kali Linux image are available to download freely at Kali.orgIt is possible to download images of BackTrack Linux, (at the time of writing, the practical exam is conducted on BackTrack). For my practice lab I used Kali Linux.
Recommended Hardware
Wireless Network Routers
- D-Link DIR-601
- Netgear WNR1000v2
Wireless Cards
- Netgear WN111v2 USB
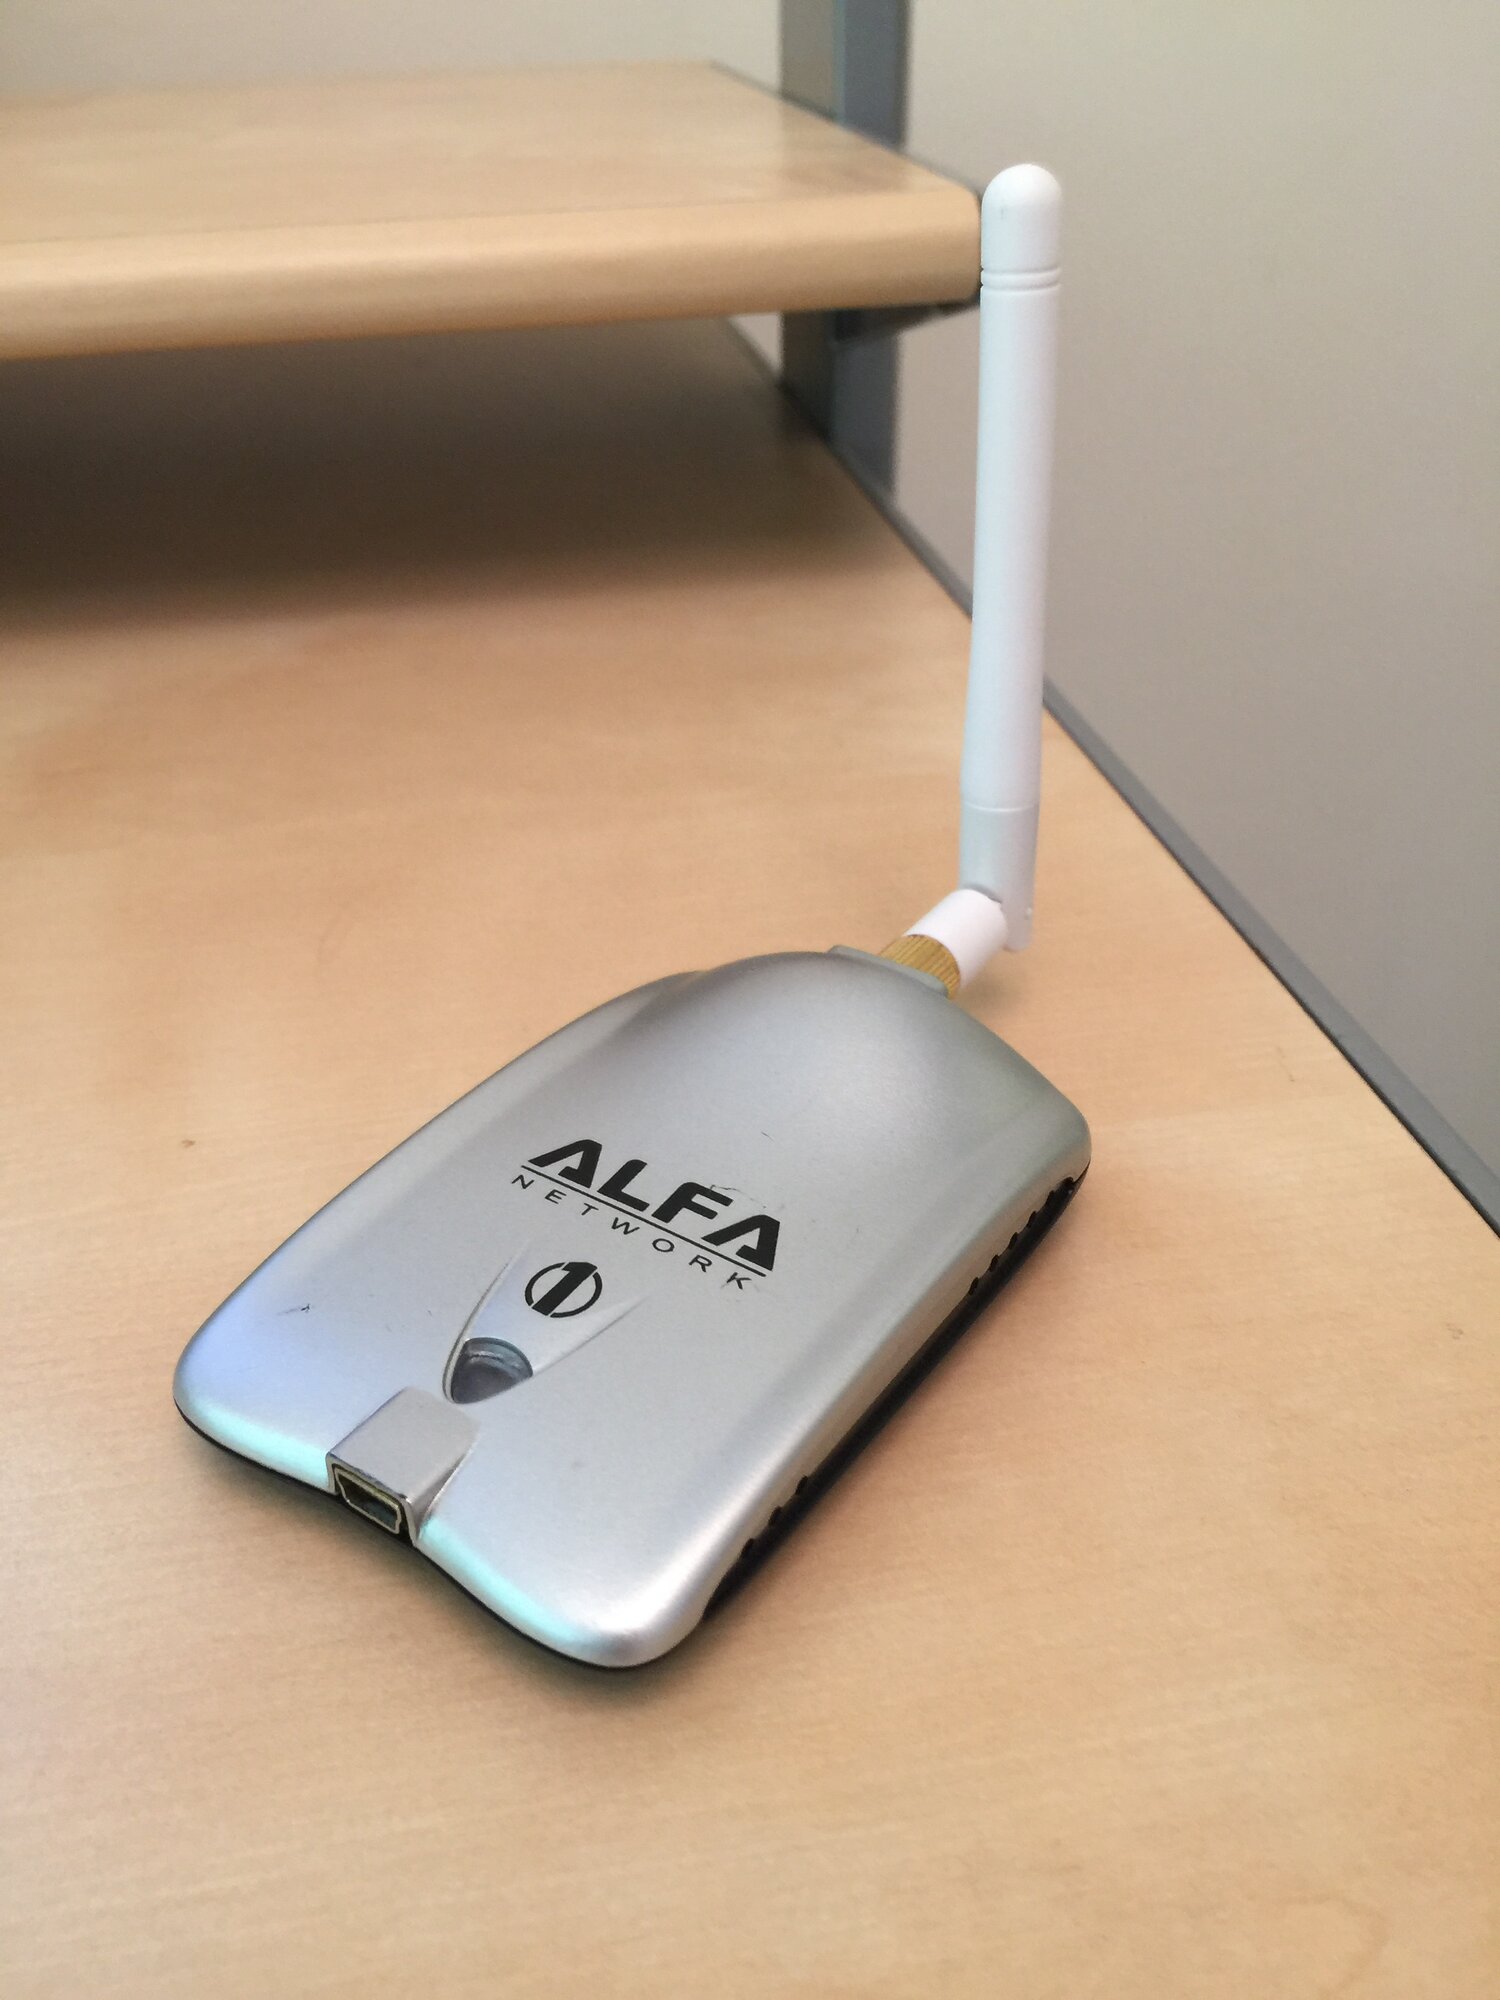
- ALFA Networks AWUS036H USB 500mW
Source: OSWP Summary
Hardware that I used
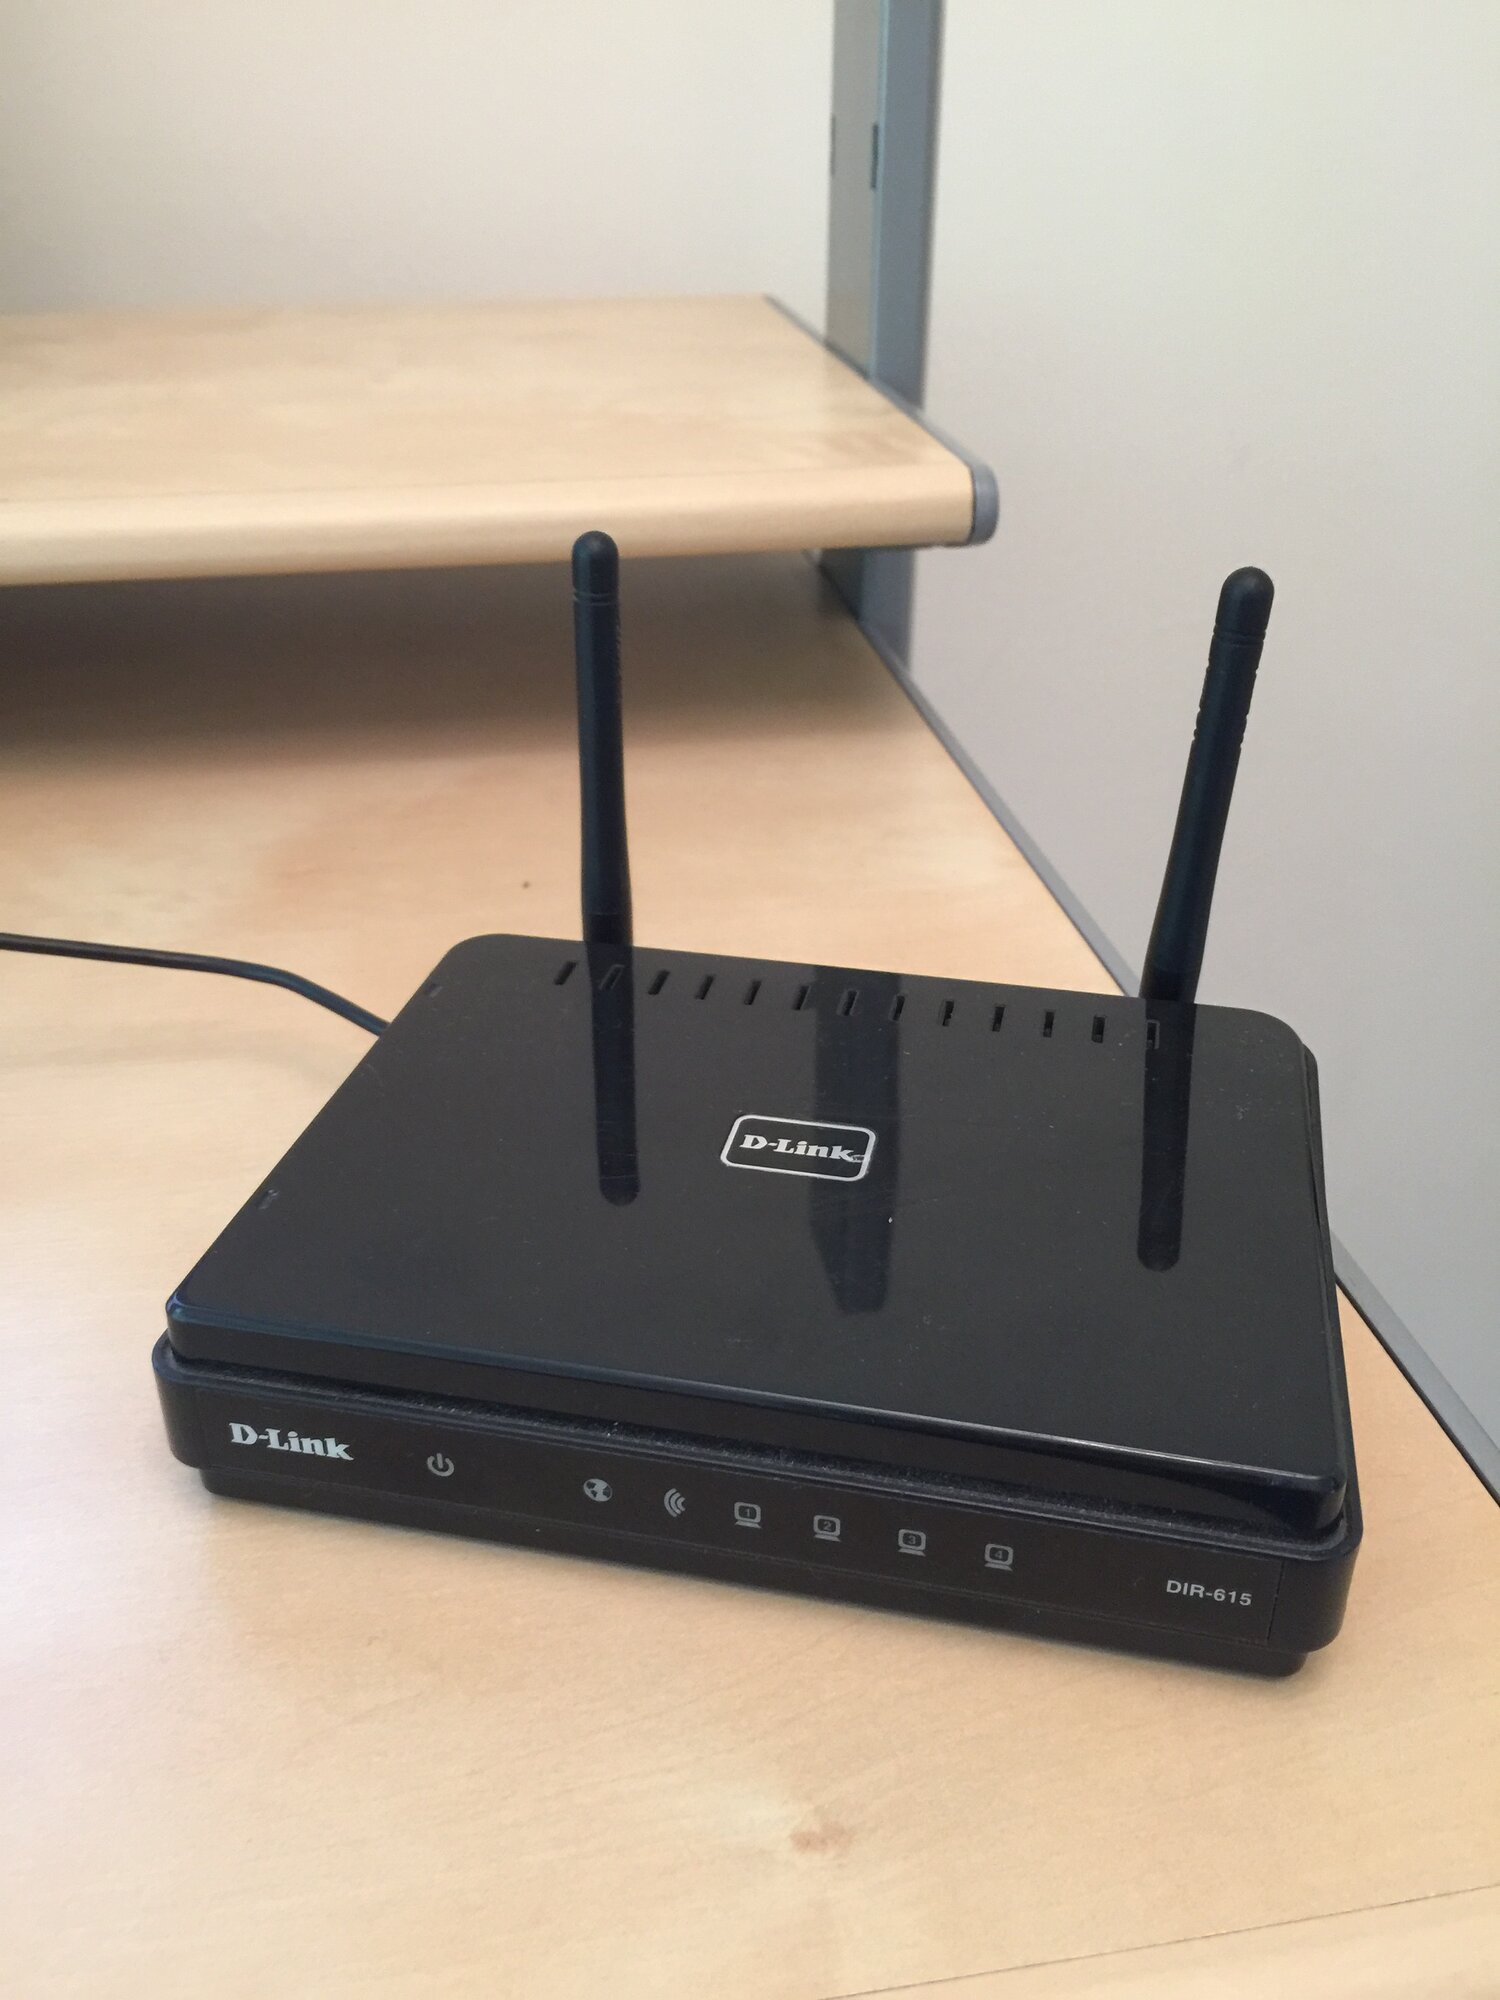
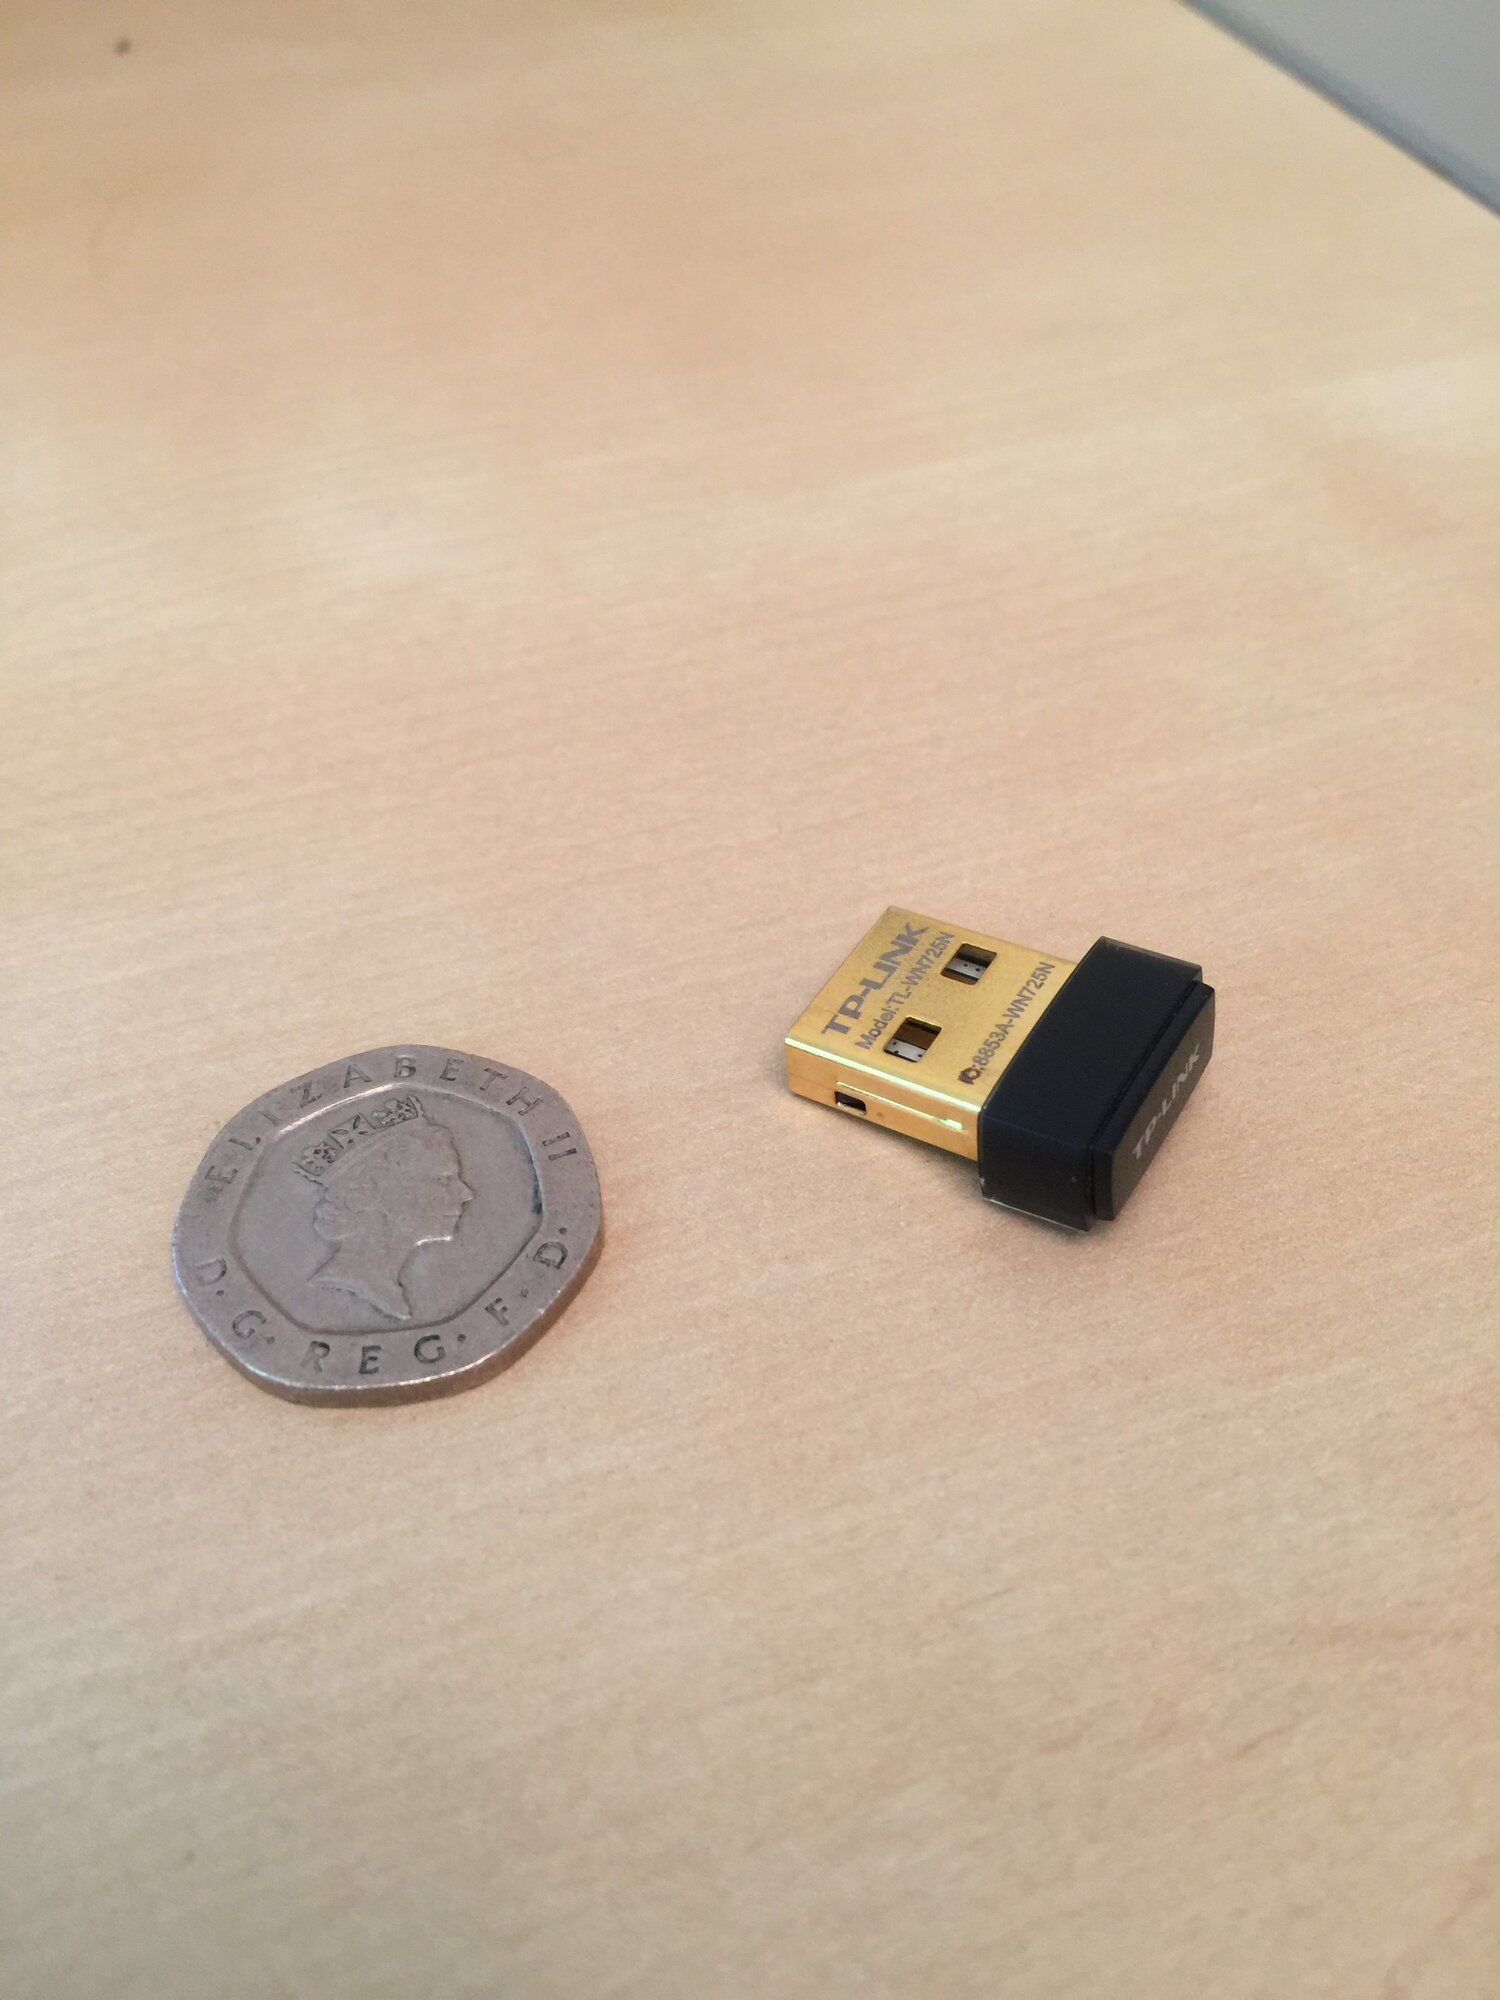
For the access point, I used a D-Link DIR-615 which worked well for MOST of the attacks, BUT NOT ALL. I was unable to successfully complete the Fragmentation and KoreK ChopChop attacks in my practice lab.The most current listing of hardware compatible with the Aircrack-ng suite can be found at: aircrack-ng.orgAs for the Victim device, I started with a WinXP virtual machine running on the same host laptop as Kali Linux, this proved to be a little confusing. I was constantly switching between Kali Linux for attacks and Victim machine to view the effect, (mostly dropped pings). I recommend using a physically separate computer as the Victim if possible.For my Victim I used an old MacBook Pro, OSX host with WinXP running as a guest operating system within VMware Fusion. This configuration does not allow Windows to use the onboard wireless card of the MacBook Pro so I used a small USB WiFi card from TP Link to give WinXP a wireless interface.
Whilst I made my way through the practical labs, I used Kali Linux running within VMware Fusion on a MacBook Pro, entering commands directly into terminal windows via the desktop environment offered by Kali Linux.The practical exam is performed via SSH session to a remote machine. So when I was practicing for the exam, I enabled SSH on the VM instance of Kali Linux and entered my commands via multiple terminal windows from within my OSX desktop environment.

The practical exam
Once I had digested the WiFu course guide pdf, viewed the training videos and practiced the attacks, I felt ready to schedule the exam. Booking the date and time for the practical exam was painless, I followed the link provided in an email, I was able to select a date and time for the exam to start. The slots available were all 48 hours in the future, so bear this in mind when if and when you come to scheduling your own.The invitation email containing the login credentials required to connect to the remote lab arrived as the clock struck 1400 GMT.I established my multiple ssh connections to the remote lab from within screen, so that I could re-establish my sessions if my connection dropped at any point during the exam.screen: Keep Your Processes Running Despite A Dropped ConnectionUsing Screen on Mac OSX
The exam is graded in two parts
- Firstly, the successful recovery of the requested network keys / PSKs
- Secondly, clearly presented, "show your working", a report containing the keys and showing the commands used to acquire them. A template is provided for this.
The time available for the exam is 3 hours and 45 minutes, I took my time and recorded each step, copying and pasting the commands and results into the report template so that my report writing could be completed quickly.
Summary
I really enjoyed the entire OSWP experience, the practical element of this course was a welcome different experience to the numerous multiple choice exams I have sat to date.I am proud to share with you that I passed the OSWP exam.I feel that the course was valuable and this has tweaked my interest in the other certifications offered by Offensive Security.